Preserving food through canning is a time-honored tradition that allows us to savor the flavors of each season long after it has passed. If you’re eager to embark on a journey of self-sufficiency and enjoy the taste of homegrown produce year-round, canning is the answer. In this blog post, we’ll guide you through the basics of it, equip you with essential knowledge, and provide all the tips to get started.
Understanding the Canning Process
Canning is a method of preserving food by sealing it in airtight containers to prevent spoilage and the growth of harmful microorganisms. There are two primary methods: water bath canning and pressure canning.
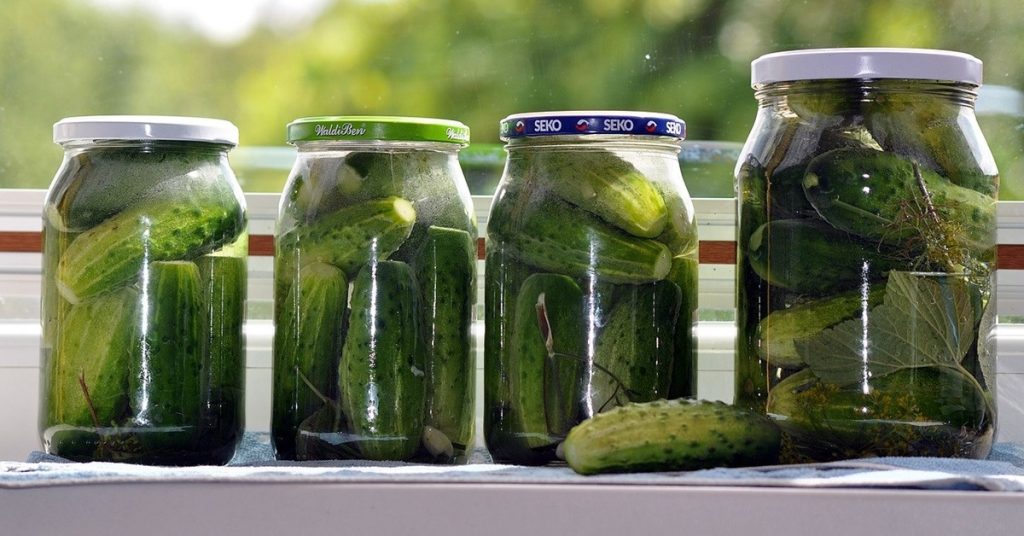
- Water Bath Canning: Ideal for high-acid foods like fruits, tomatoes, pickles, and jams. The filled jars are immersed in boiling water for a specific period to destroy bacteria and create a vacuum seal.
- Pressure Canning: Suitable for low-acid foods like vegetables, meat, and poultry. These foods require higher temperatures to ensure safe preservation, achieved by using a pressure canner.
Essential Equipment
Before you start, gather the necessary equipment, which includes:
- Canning Jars: Choose jars of appropriate size with two-piece lids (lid and ring). Ensure they are free from chips or cracks.
- Canning Pot or Pressure Canner: Select a pot or canner large enough to fit the jars and allow water to cover them during processing.
- Canning Funnel: A funnel with a wide mouth helps in filling jars neatly and without spills.
- Jar Lifter: A tool designed to safely lift and handle hot jars during the canning process.
- Bubble Remover and Head Space Tool: A utensil used to remove air bubbles from filled jars and ensure the correct headspace.
Safety First
Canning is safe when done correctly, but it’s essential to follow proper guidelines to avoid foodborne illnesses. Always use tested and reliable recipes from reputable sources like the National Center for Home Food Preservation or the Ball Complete Book of Home Preserving. Ensure your equipment is in good condition, and don’t attempt to modify recipes without guidance.
Start with Simple Recipes
As a beginner, start with simple recipes like jams, jellies, or pickles. These high-acid foods are forgiving and great confidence builders. Gradually progress to more complex recipes, such as canned vegetables or meat, as you gain experience and confidence in the process.
Step-by-Step Canning Process
- Prepare your recipe and ingredients.
- Sterilize your jars and keep them hot until ready to fill.
- Fill the jars with the prepared food, leaving the recommended headspace.
- Remove air bubbles, wipe the jar rims, and apply the lids and rings.
- Process the filled jars in a water bath canner or pressure canner as per the recipe instructions.
- Allow the jars to cool, check for proper seals, and store in a cool, dark place.
Canning is a rewarding skill that allows you to preserve the bountiful harvests of each season and enjoy them throughout the year. As you embark on your journey, remember to prioritize safety and use trusted recipes and techniques.
Start small, build your confidence, and experiment with a variety of recipes to discover the joy of self-sufficiency and the delicious rewards of home-canned goodness.